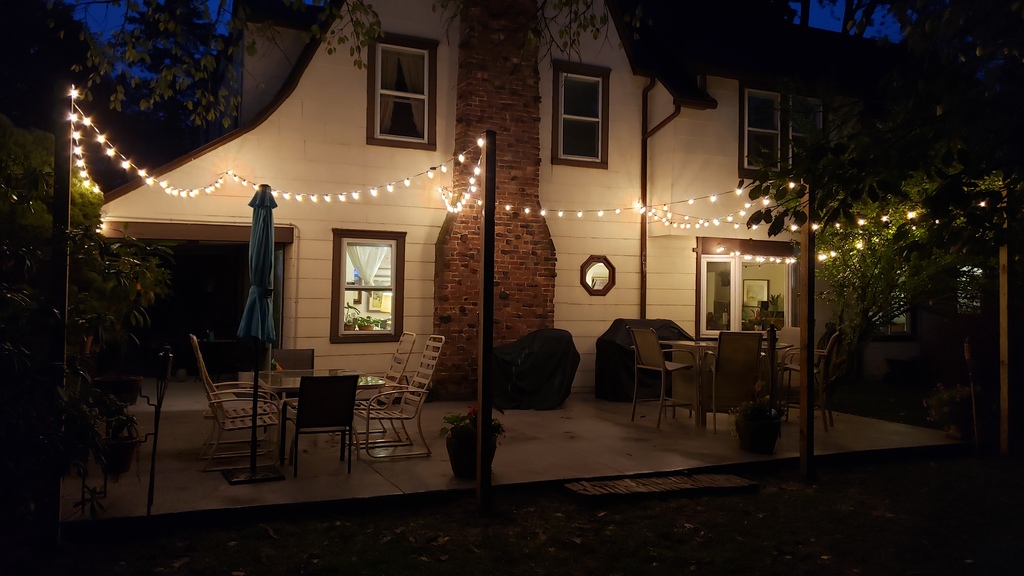
We recently had a new large patio put in to replace the old, broken one, but there was no outdoor lighting or even outdoor power, so it was quite difficult to enjoy this investment after dusk. Instead of hiring an electrician and contractor to remedy this, I decided to flex my handyman skills, and do it myself.
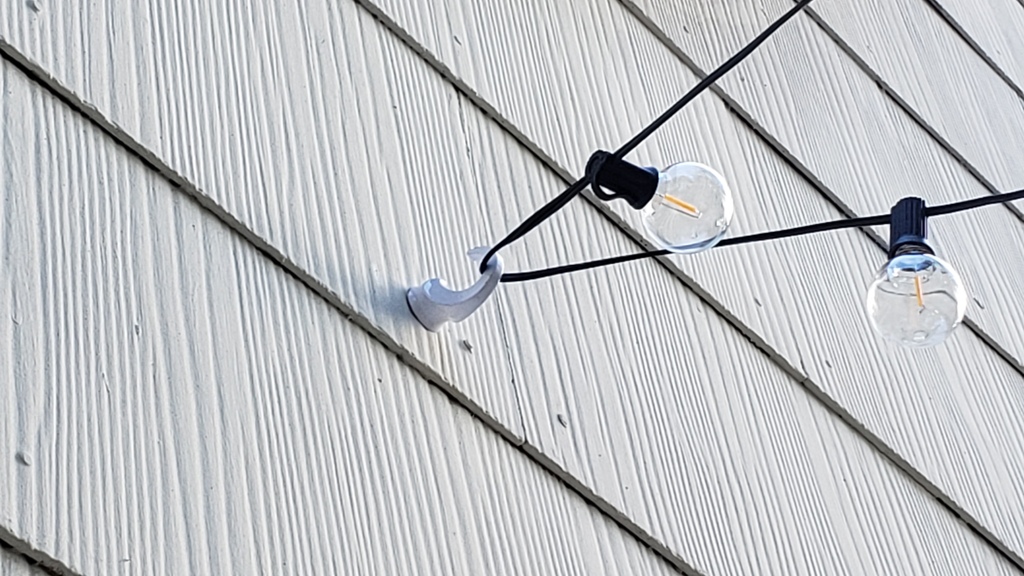
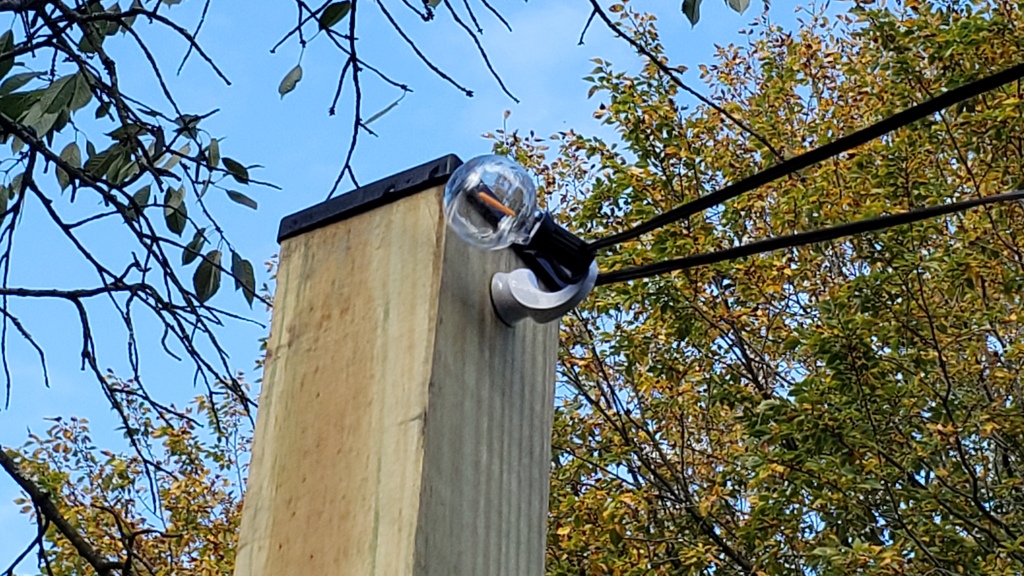
The design goal was overhead string lights, approximately 10 feet off the ground, so that patio-goers were unlikely to hit them, even with raised arms. The string should zigzag across the patio, requiring around 140ft of lights. Edison bulbs were an option, for aesthetics, but LED options were more attractive, since the lower temperatures and heat allow for shatter-proof plastic bulbs. The longer life, and lower energy usage were anther plus. Modern LED bulbs can have an extended ‘filament’ similar to the Edison style, though this can increase cost. The other main factor here is bulb spacing. Cheaper options tend to be 2+ feet apart, which significantly reduces the appeal (and brightness) of string lights. We opted for some round, clear, plastic LED bulbs spaced at one foot intervals on 50’ strands found on Amazon.
The added bonus of plastic bulbs is significantly lower weight, meaning less tension is required to reduce sag on the string. One could calculate the tension on the catenary curve, but it was easier to just pull a string tight and get a feel for the tension required. Long story short, a simple screw mounting system would be fine, using some off the shelf hooks.
The completed project turned out pretty nice!